Have I convinced you to line dry your clothes? Good! Here is how to do it :)
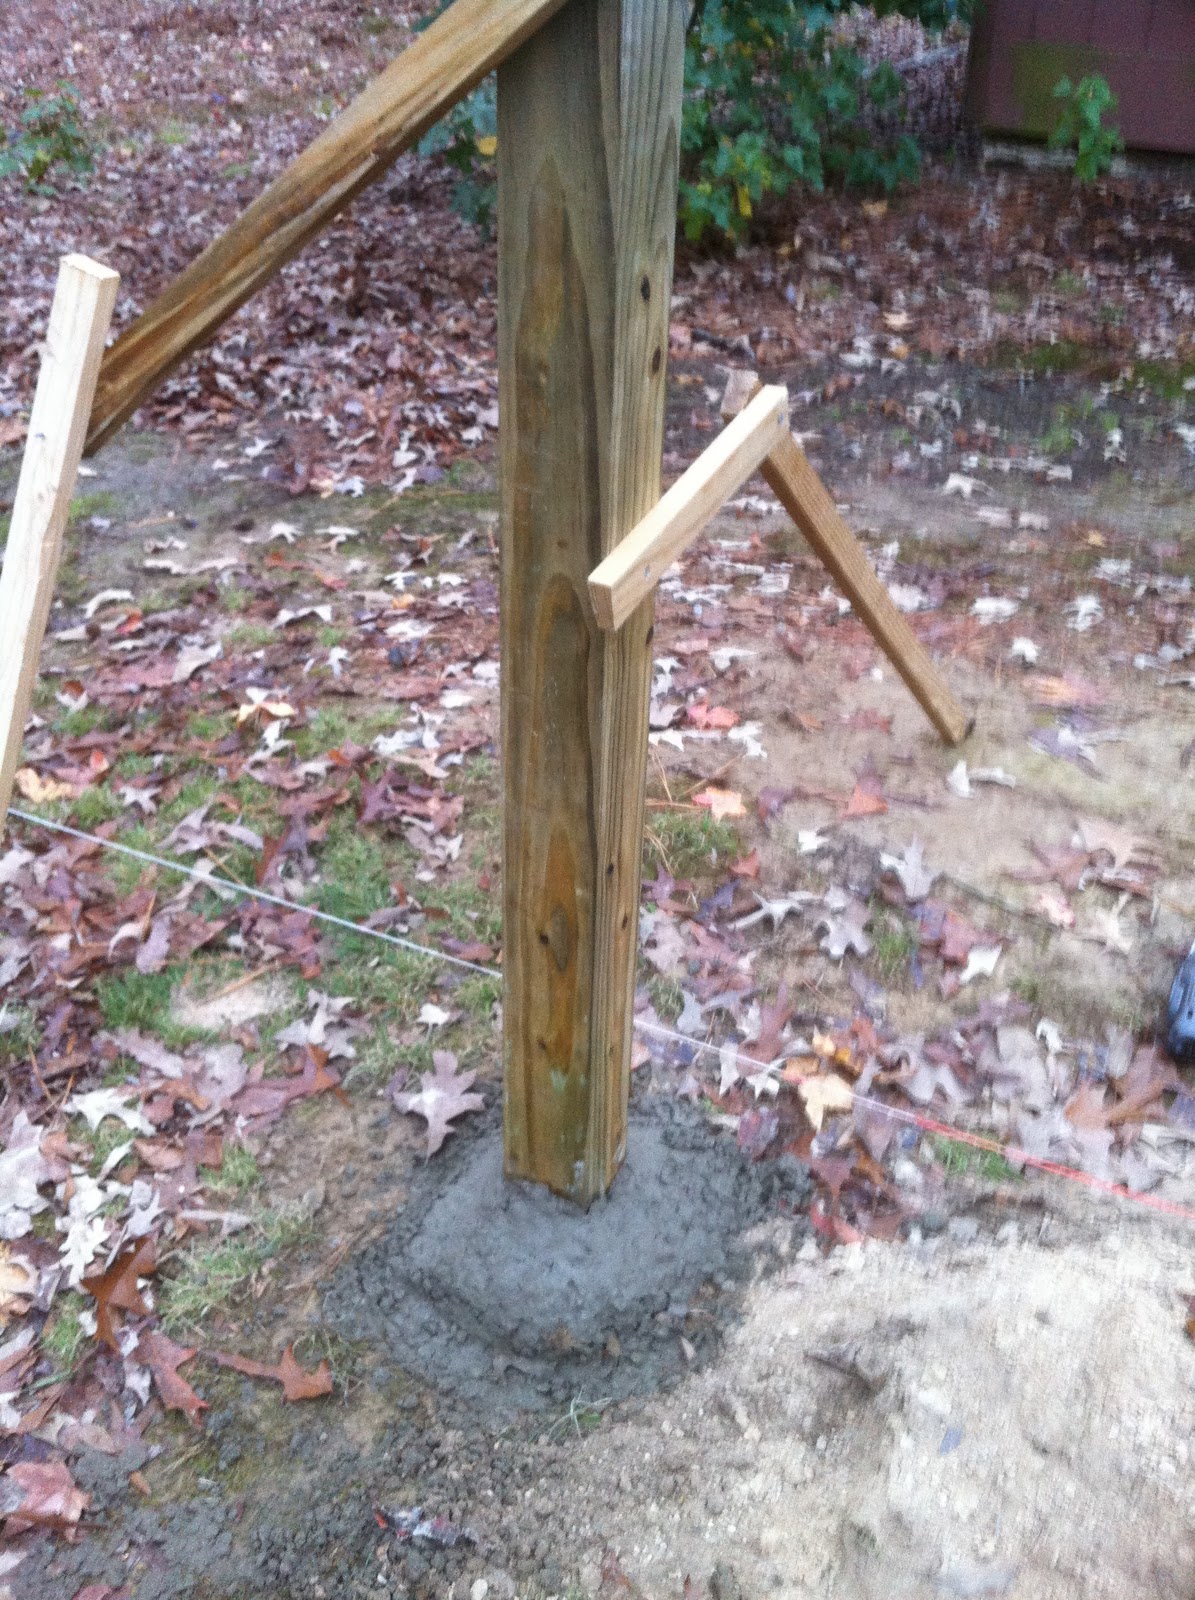
First, select your location. I have lots of sturdy trees, so I chose to stretch mine between trees. If you don 't have trees, you can set posts in concrete. I have three lines stretched. You can barely see them when they aren't filled with clothes.

 To keep your line from sagging excessivly in the middle, you need to make sure you secure your line tightly. I picked up this neat gadget at WalMart. You insert the end of your line through it, hook the ring onto your hook, and pull your line tight. There are bearings inside that keep the line from slipping. Use this on one end and a regular hook on the other or youcan use one on each end if you don't know how to tie knots well.
 Be sure to put the hooks a little higher than what you can reach from the ground. Use a small step ladder to screw in your hooks. Just make sure you can reach the line on your tippy toes. This way when your line is loaded with towels and sags in the middle it won't allow your towels to touch the ground.
How do you hang the clothes?
I do my pants like this:
Fold a little of the hem over the line and secure each leg with clothes pins at the edges.
I hang almost all collarless shirts like this:

Fold the end of the hem over the line just a little and secure each end with pins.
You get the general idea. Hang towels by folding a little hem over the line and secure with pins. Sheets should be folded in half length wise over the line.
Some people hang collared shirts on hangers and then put the hangers on the line. I just hang them by the shoulder seam and pin them.
There are some common concerns about using clothes lines.
What about your unmentionables? There are several options. If you can streatch three lines parallel to one another, hang your undies on the middle line and they will be shielded from view by the clothes on the outer two lines. I didn't have this options because I couldn't move my trees. I do have privacy fence that keeps my clothes line from being in view of anyone not in my back yard. And I don't invite people in the back yard when my unmentionables are on the line. If you can't do either of those, you can dry them indoors, either on an indoor line or hanging in the shower.
What about rain? Watch the forecast. Schedule laundry day on a sunny, windy day if possible. Everyone is going to get suprised by an unexpected shower now and again. It won't be the end of the world, promise :)
What about bird poop? I have only had one bird bomb incident. I shook the dried offensive material off and rewashed the shirt. No big deal.
What about my delicate skin? I like the feel of stiff clothes off the line. If it bothers you, add a half cup of vinegar to the rinse cycle. Also, windy days will help. The wind moves the clothes as they dry and they will be really soft.
Give line drying a try. You might become a believer like me :)